1. Access the Default Layout Settings Menu
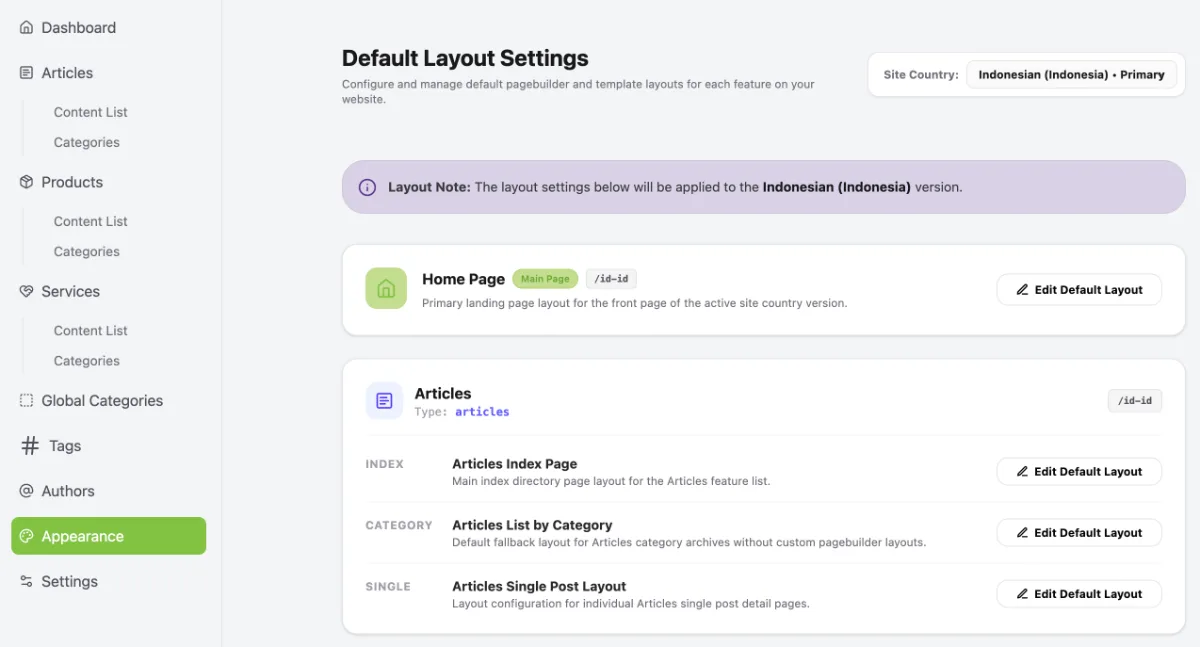
Access the Default Layout Settings menu by following these steps:
- Click the Operational Tools menu.
- Select Website.
- Select your website.
- Click Manage.
- Select Appearance.
- Click Default Layout.
2. Edit the Default Home Page Layout
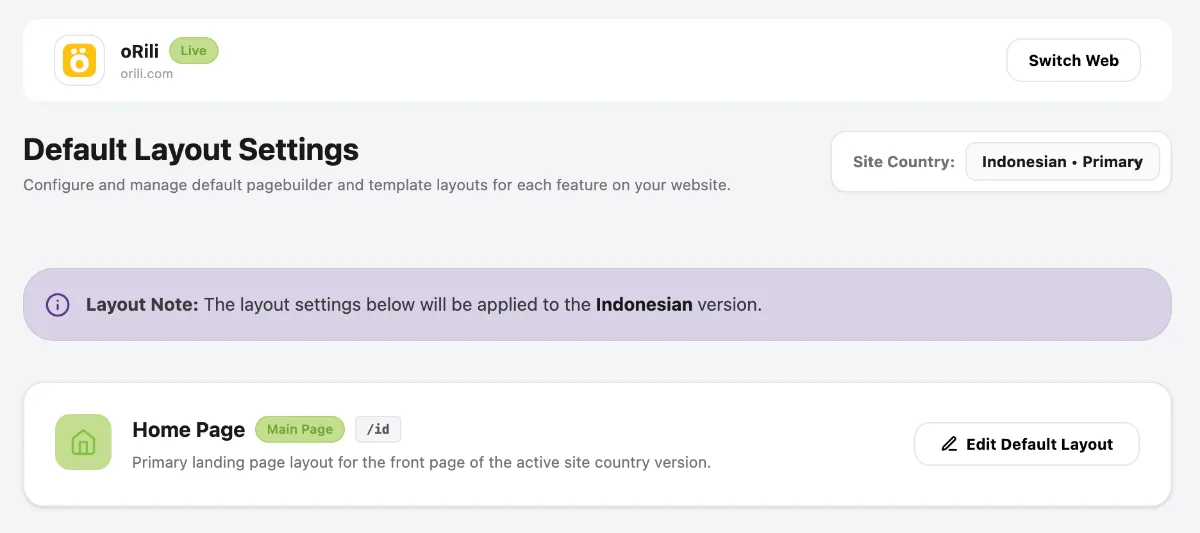
Under the Home Page section, click Edit Default Layout.
3. Configure Page Builder Mode
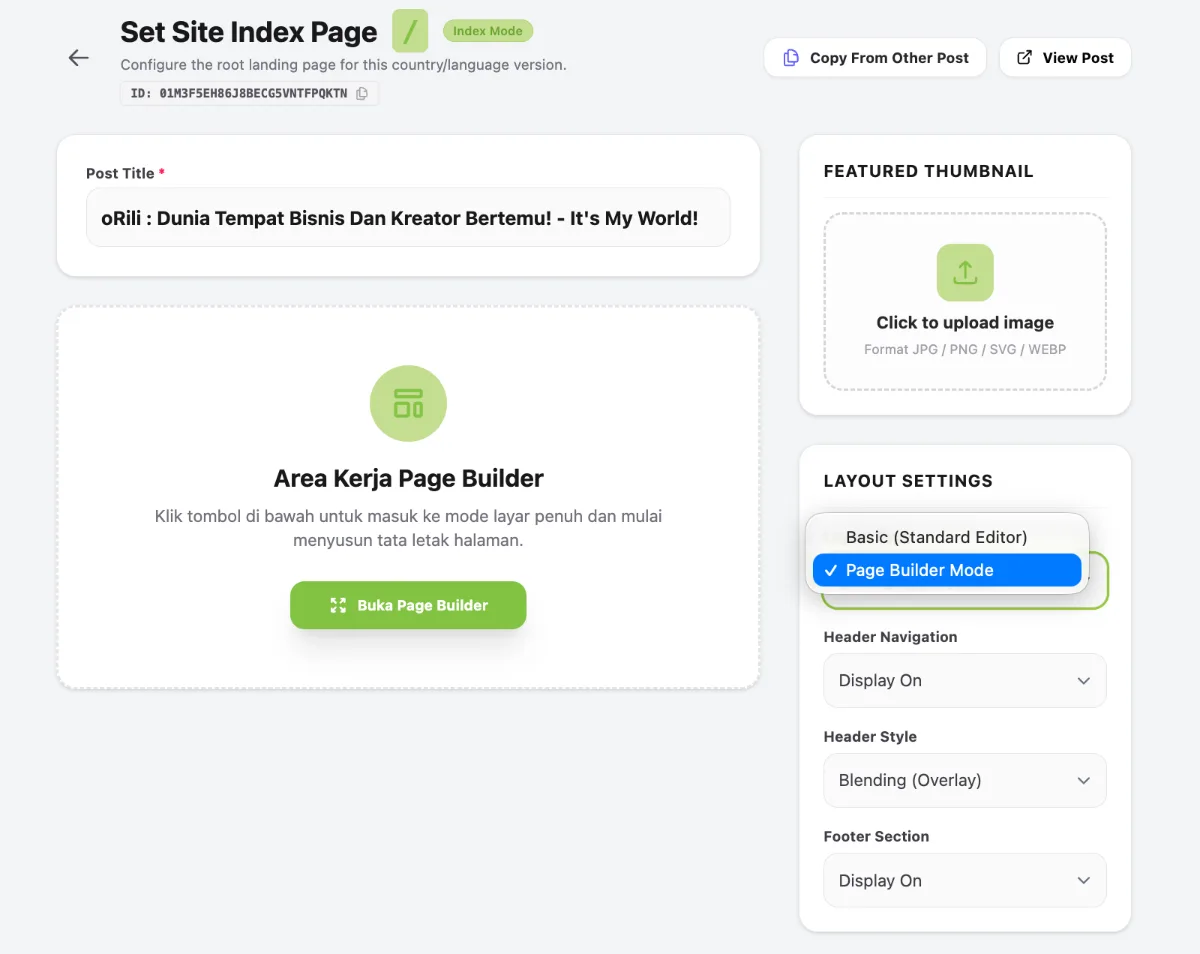
- In the right-hand menu, locate Layout Settings and select Page Builder Mode.
- Then, click Open Page Builder.
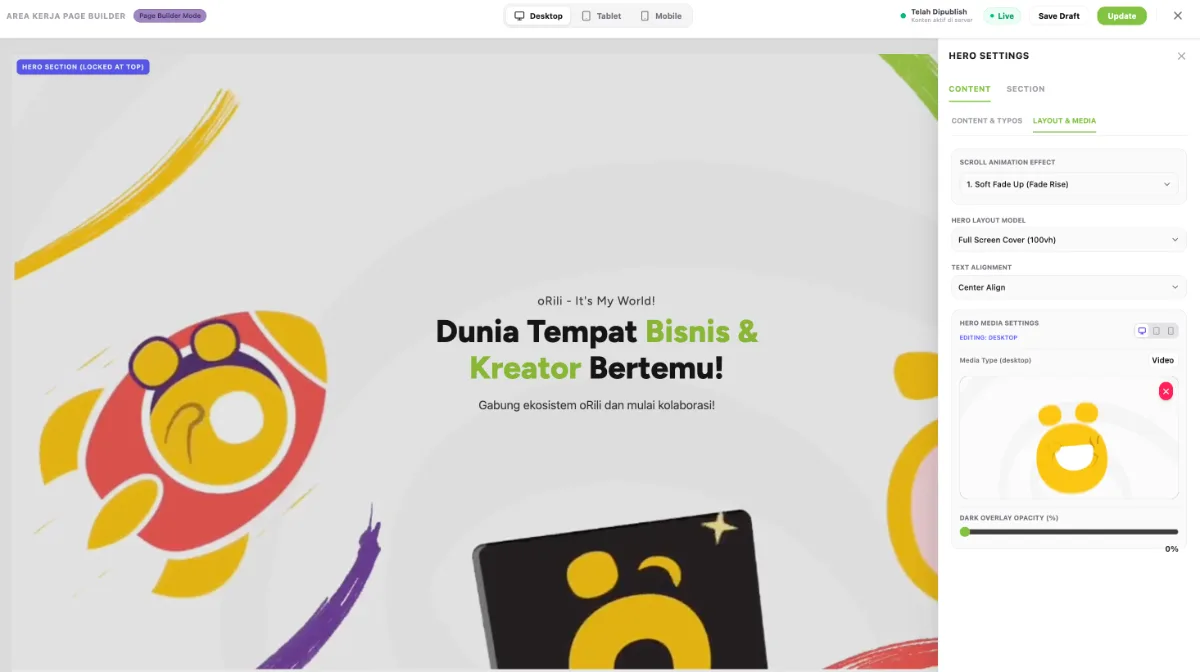
Start customising the layout from the hero section. Click Edit Hero to open the Hero Settings panel, as shown below:
- Click Content & Typos to customise the text as required.
- Click Layout & Media to adjust the hero image.
- Once you have finished configuring the hero section, close the Hero Settings panel. Then, click the + icon in the top-right corner to add other elements.
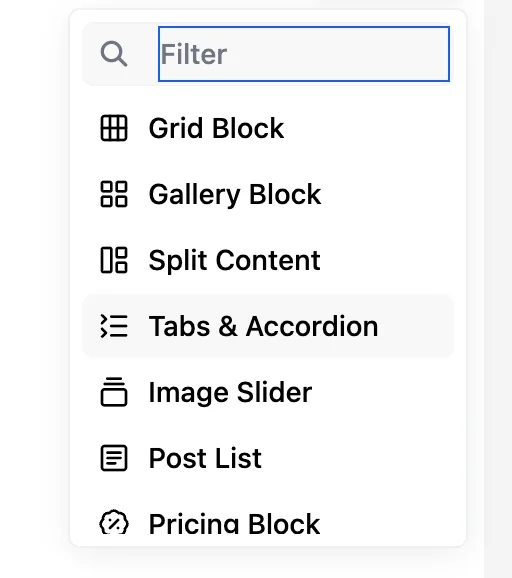
You can then choose from several available elements, including:
- Grid Block – Organises content into rows and columns.
- Gallery Block – Displays a collection of images in a gallery.
- Split Content – Divides content into two sections, such as an image and text.
- Tabs & Accordion – Organises information into tabs or collapsible panels.
- Image Slider – Displays images in a slideshow format.
- Post List – Displays a list of articles or posts.
- Pricing Block – Displays pricing and service packages.
- Load Lead Form – Connects a form to collect potential customer information.
Customise your website layout using the available elements. Each element has its own configuration settings, allowing you to adjust content, dimensions, images and other details to suit your needs.
Below is an example of a layout created using Page Builder.
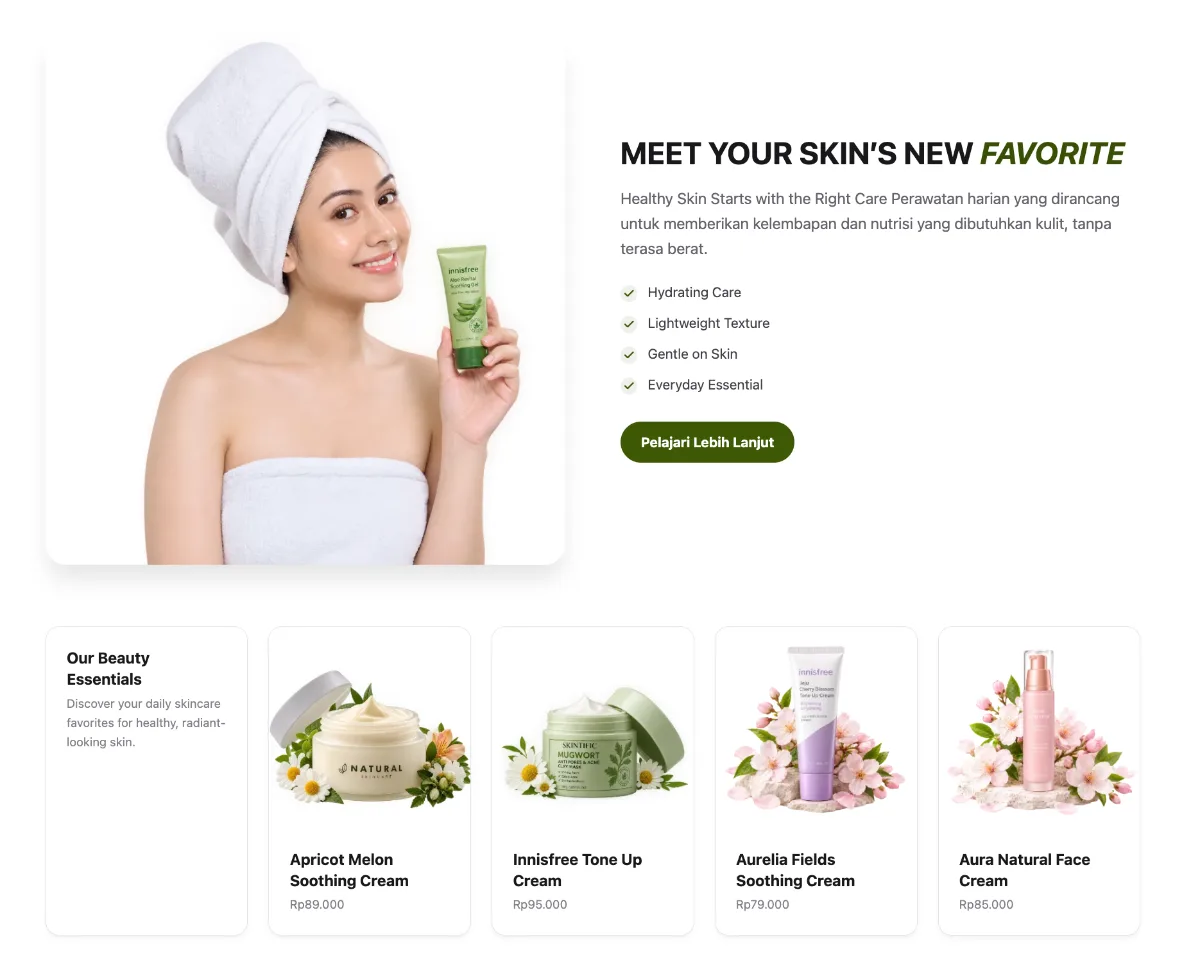
Click Save in the top-right corner, then close Page Builder.
4. Publish Your Content
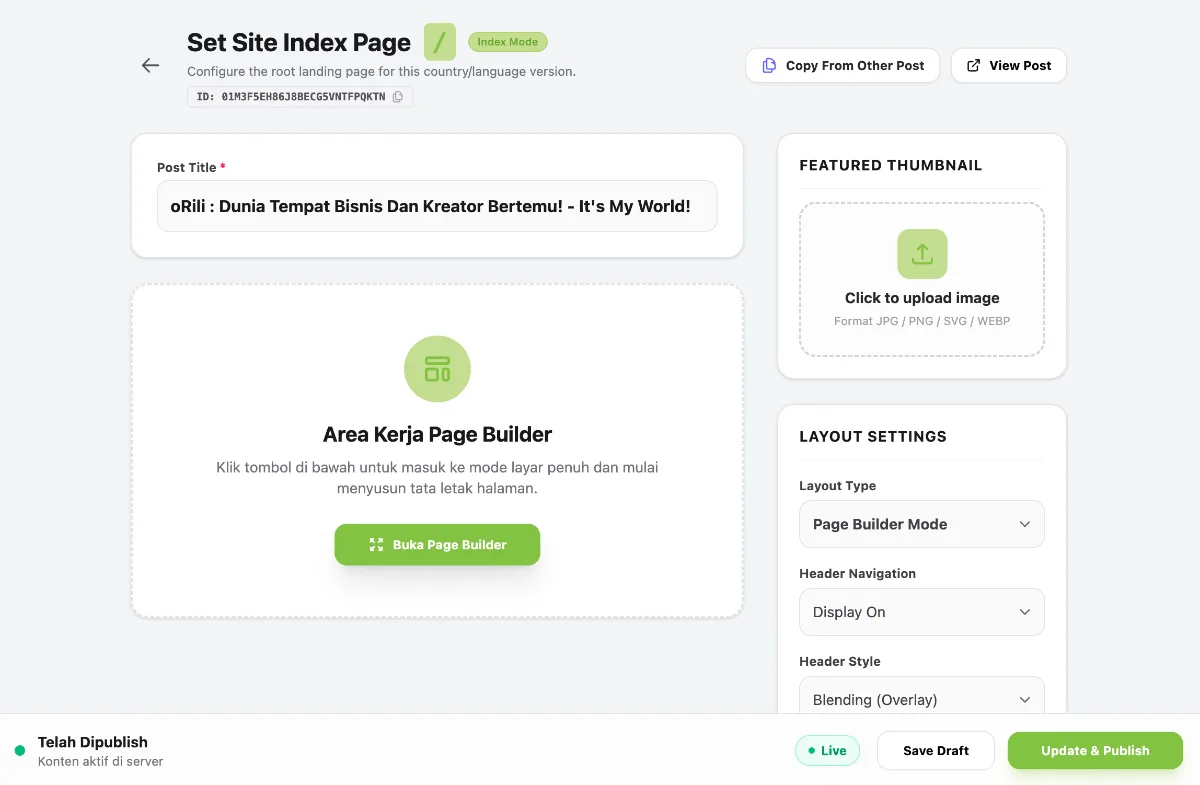
Once you have finished customising the layout using Page Builder Mode, click Update & Publish.