1. Access the Header Menu
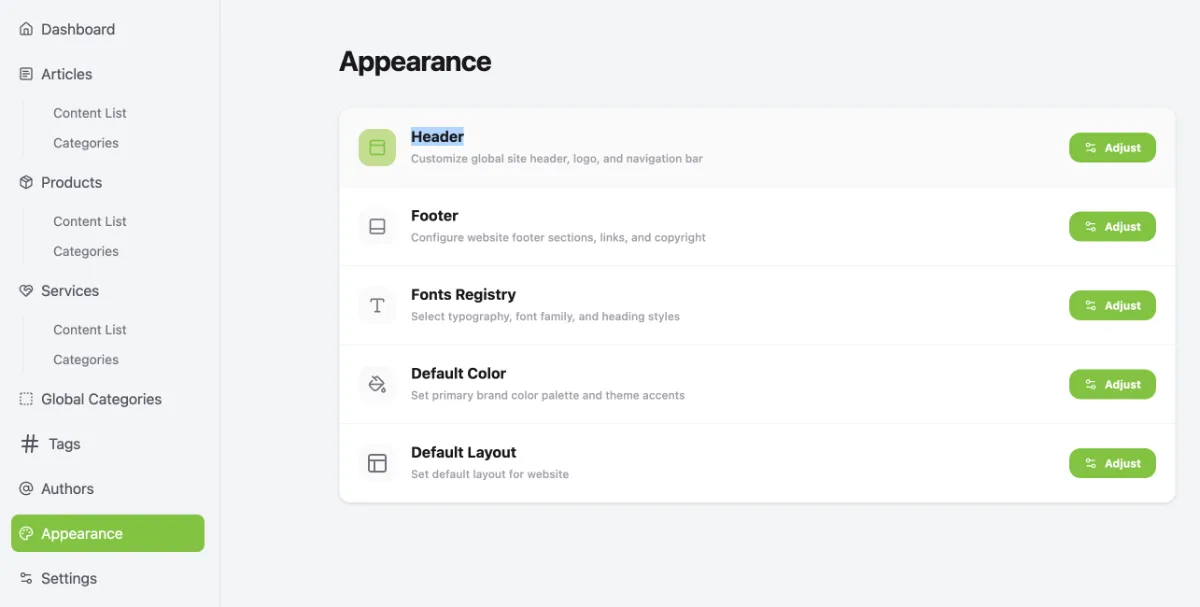
Access the Header menu by following these steps:
- Go to the Dashboard.
- Click the Operational Tools menu.
- Select Website.
- Select your website.
- Click Manage.
- Select Appearance.
- Under the Header menu, click Adjust.
2. Access Header Settings
- Click the Adjust button
- Under the Actions column, click the > icon
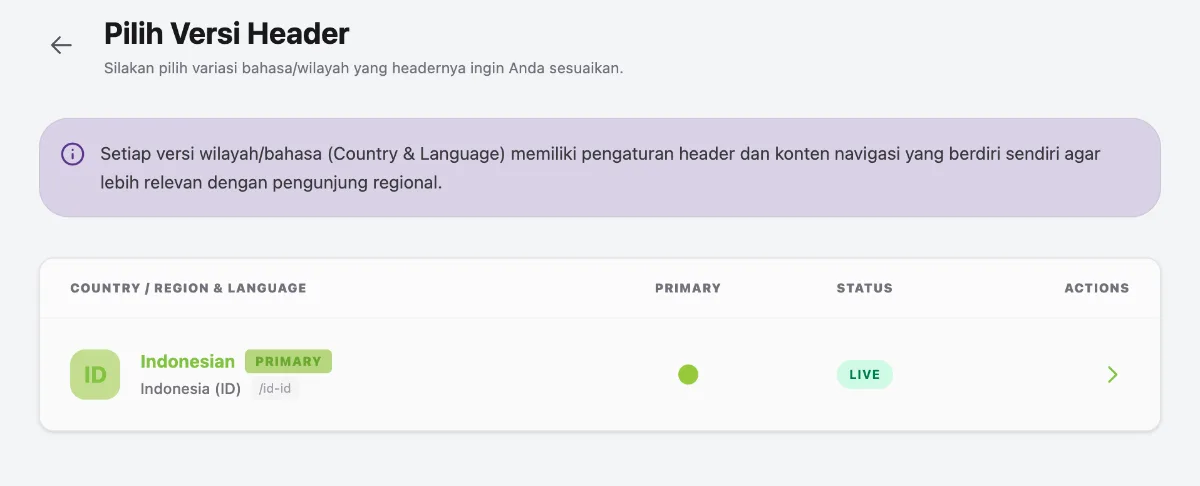
- You will then be redirected to the Header Settings page
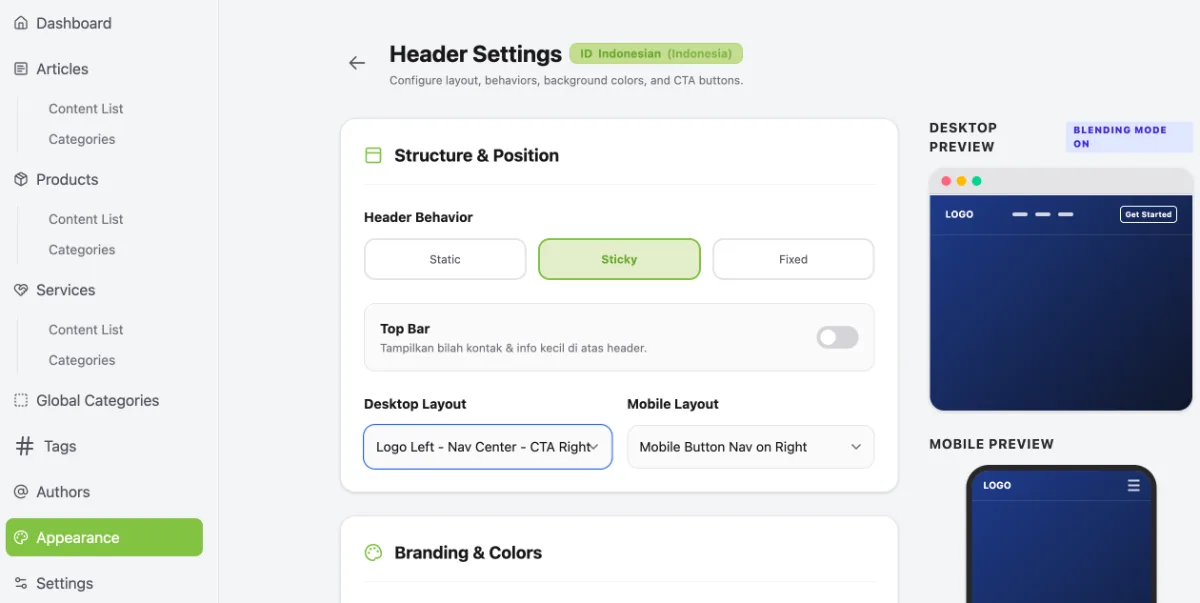
3. Customise the Header Appearance
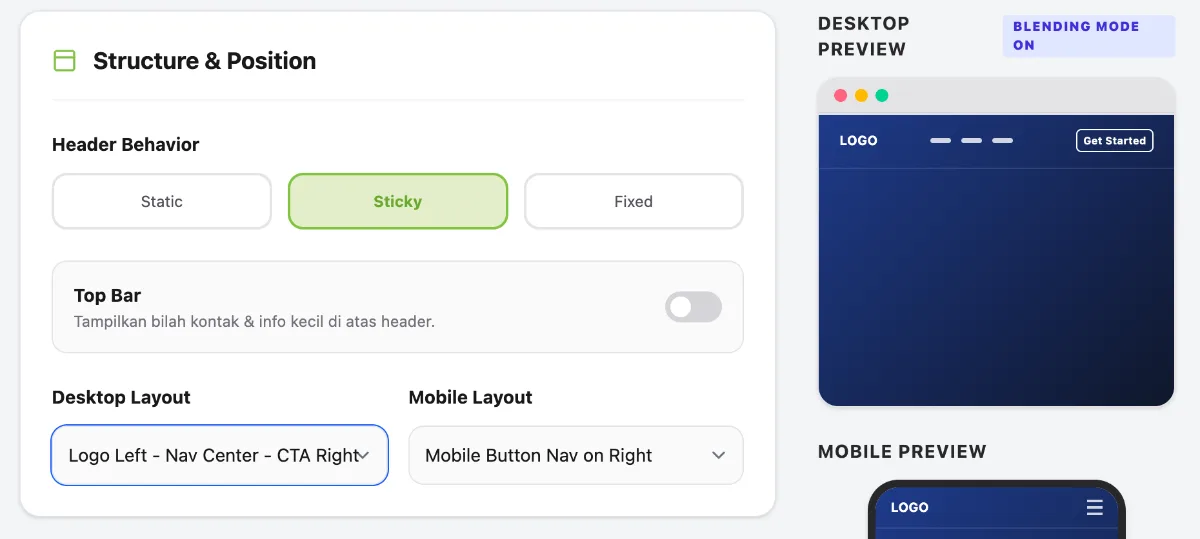
- Start by configuring Structure & Position. Enable the top bar if required. If you use a top bar, you can choose the Header Behaviour between Basic, Sticky or Fixed.
- Configure the Desktop Layout and Mobile Layout by selecting one of the available layouts. A preview of the selected layout will appear on the right.
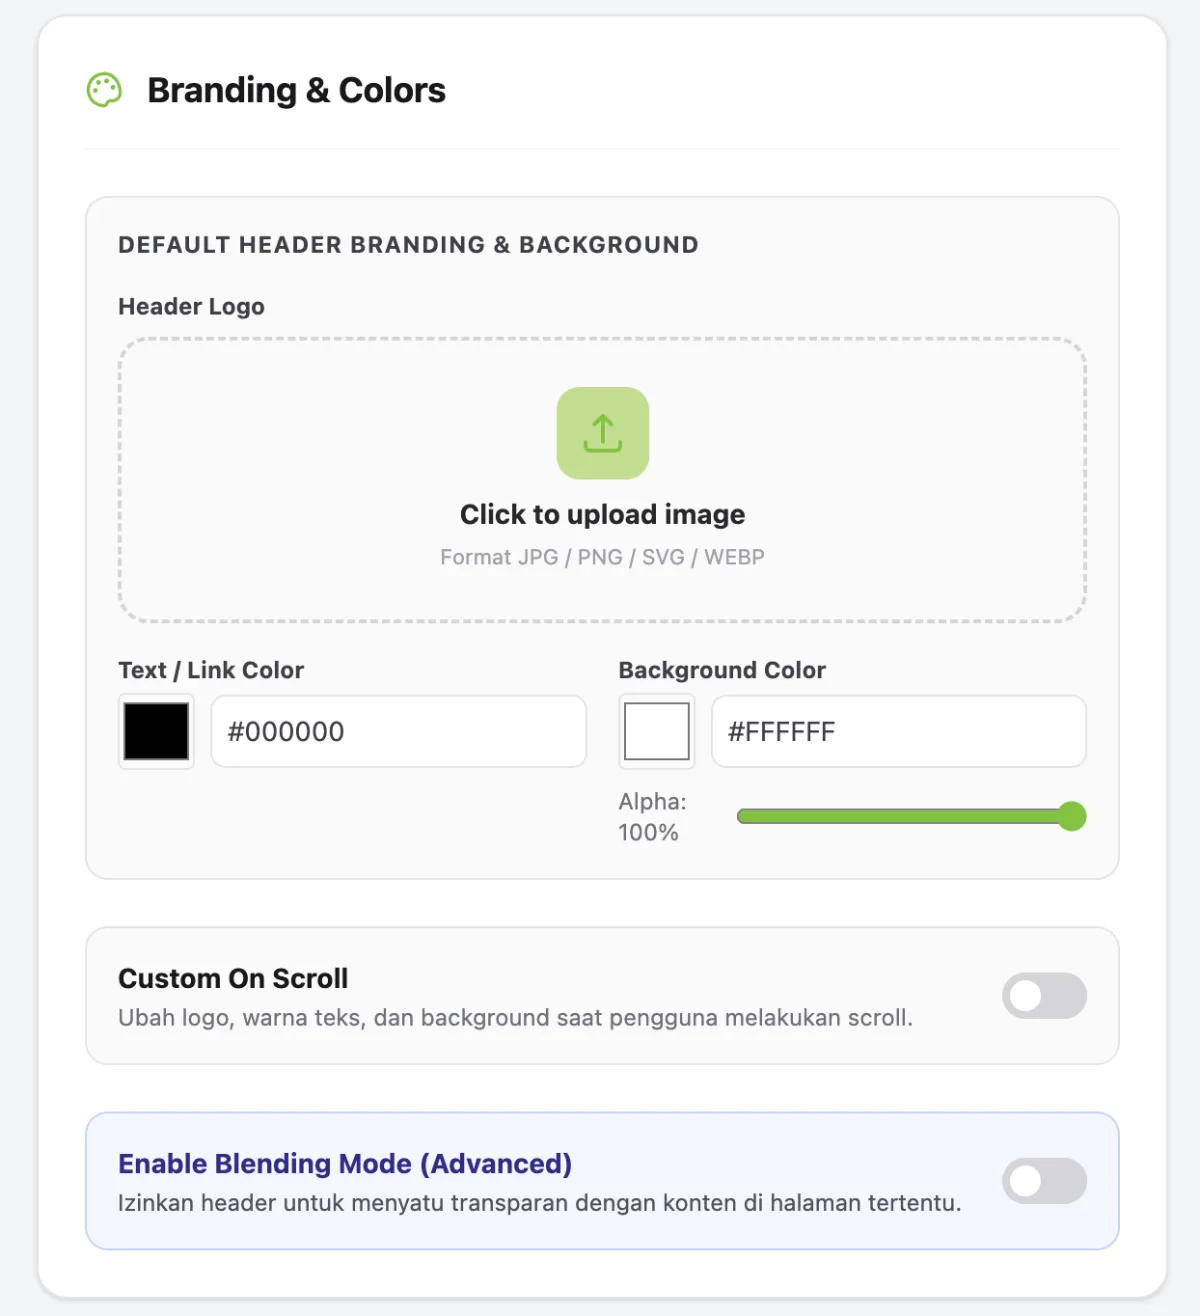
- Scroll down slightly to the next settings section, then customise the Header Logo, Link Colour and Background Colour.
- Enable Custom On Scroll if you want to change the logo, text colour and background when users scroll down the page.
- Enable Blending Mode if you want the header to blend transparently with the content on specific pages.
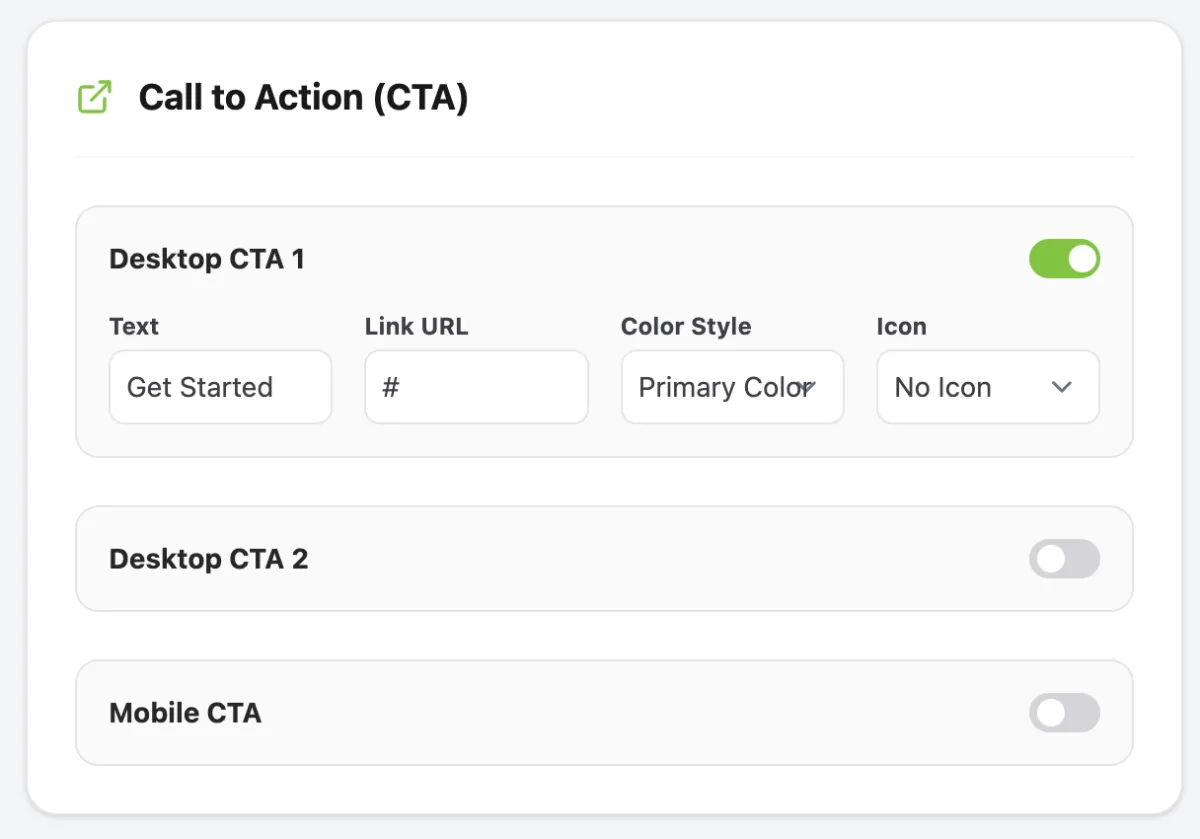
- Configure the CTA Button according to your requirements.
4. Configure Header Navigation
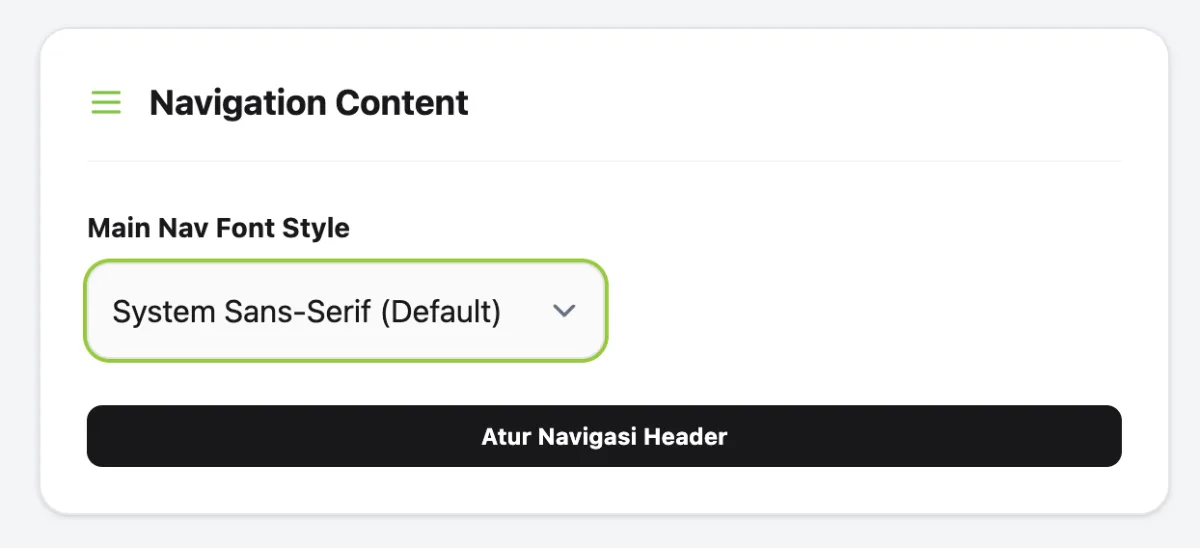
- Click Set Header Navigation.
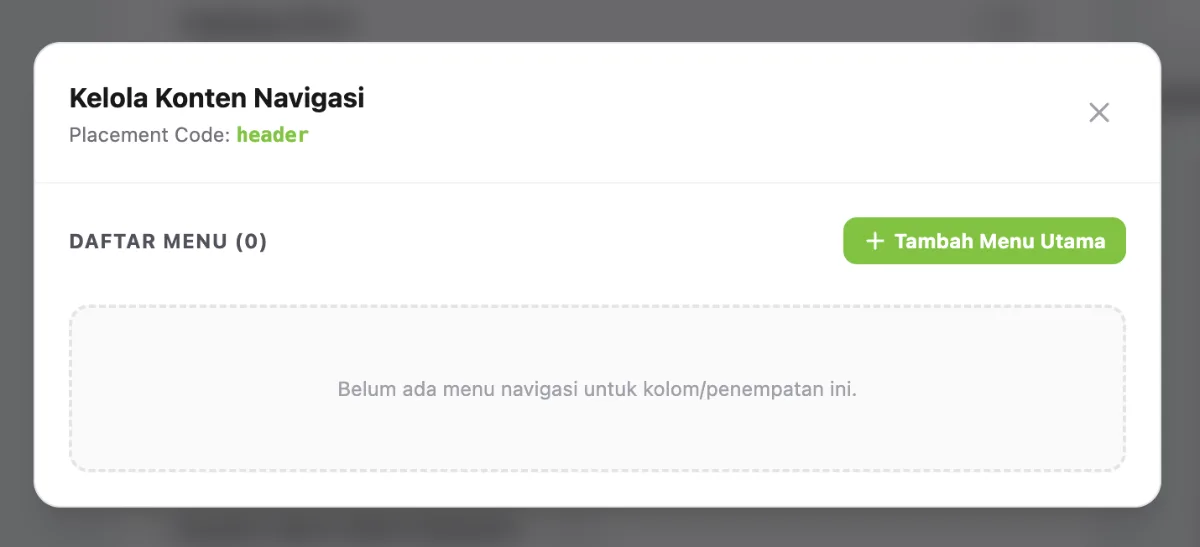
- Click Add Main Menu.
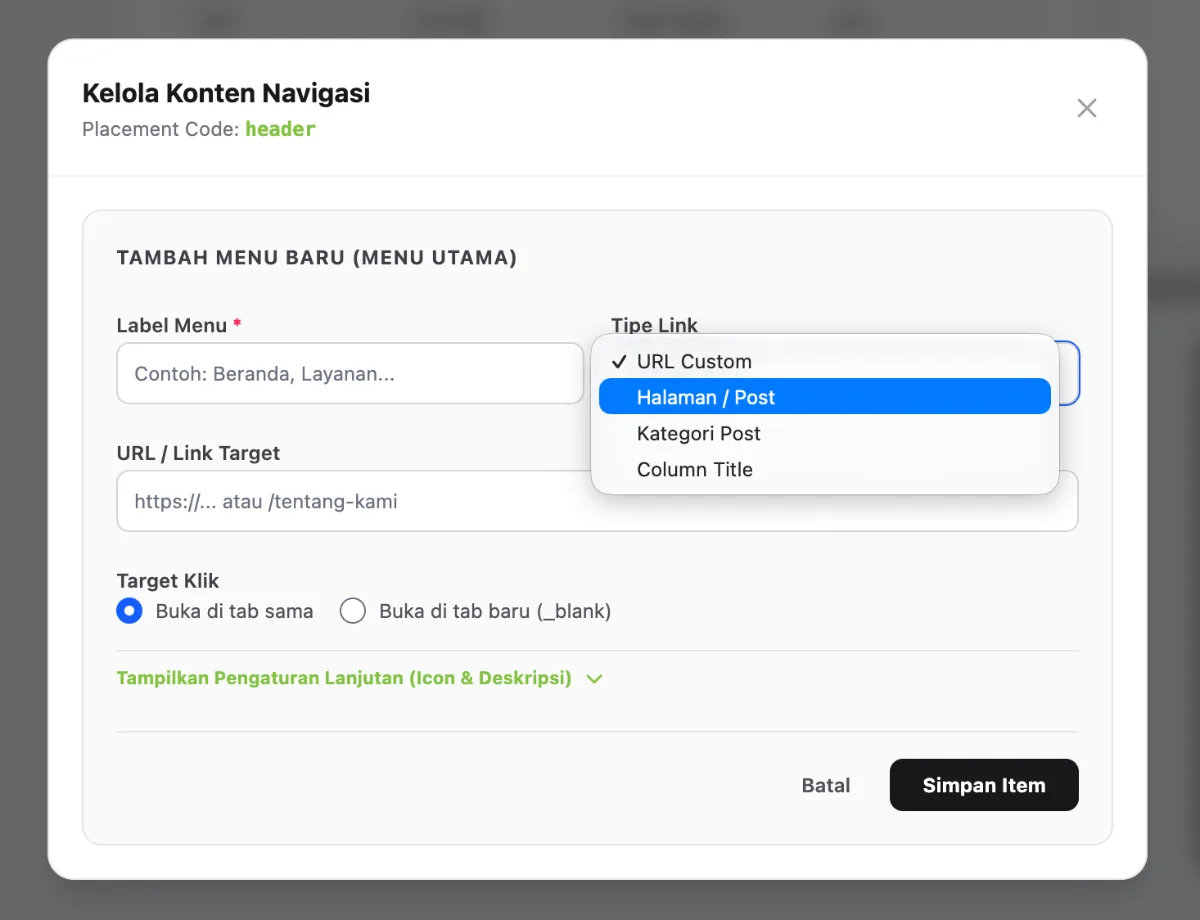
- Add header menu items using the following settings. Configure the Menu Label, Link Type and URL / Link Target accordingly.
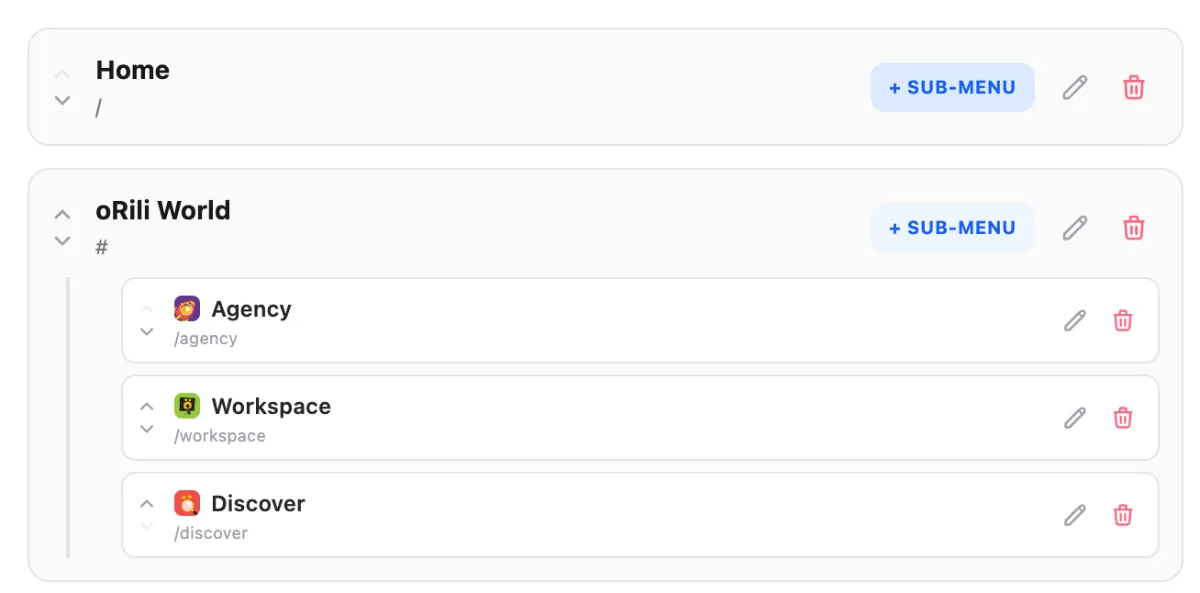
- To add a sub-menu, click + SUB-MENU and configure it as required.
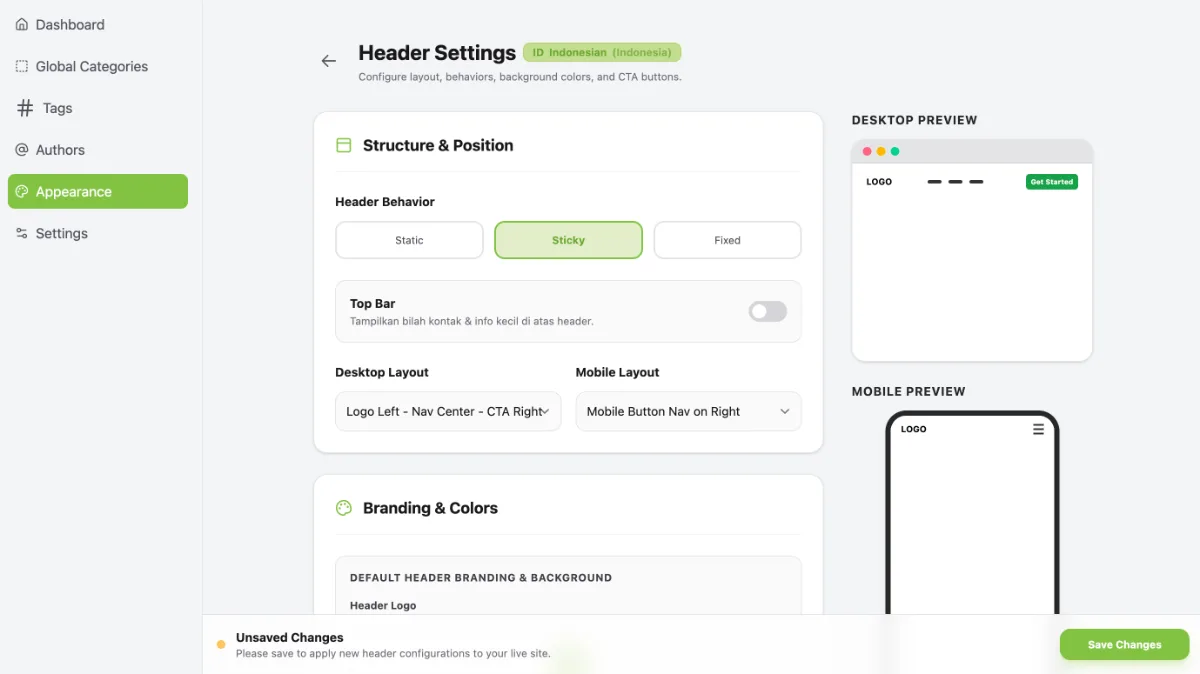
- Return to the Header Settings page, then click Save Changes to apply and display your header updates.