1. Access the Default Layout Settings Menu
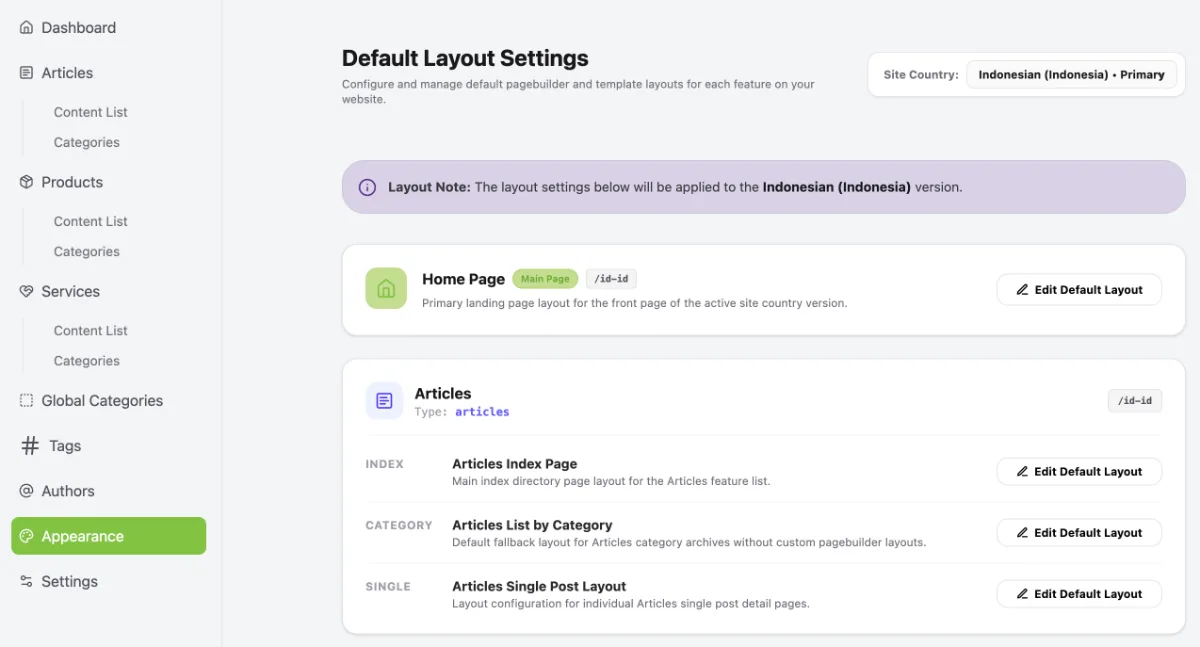
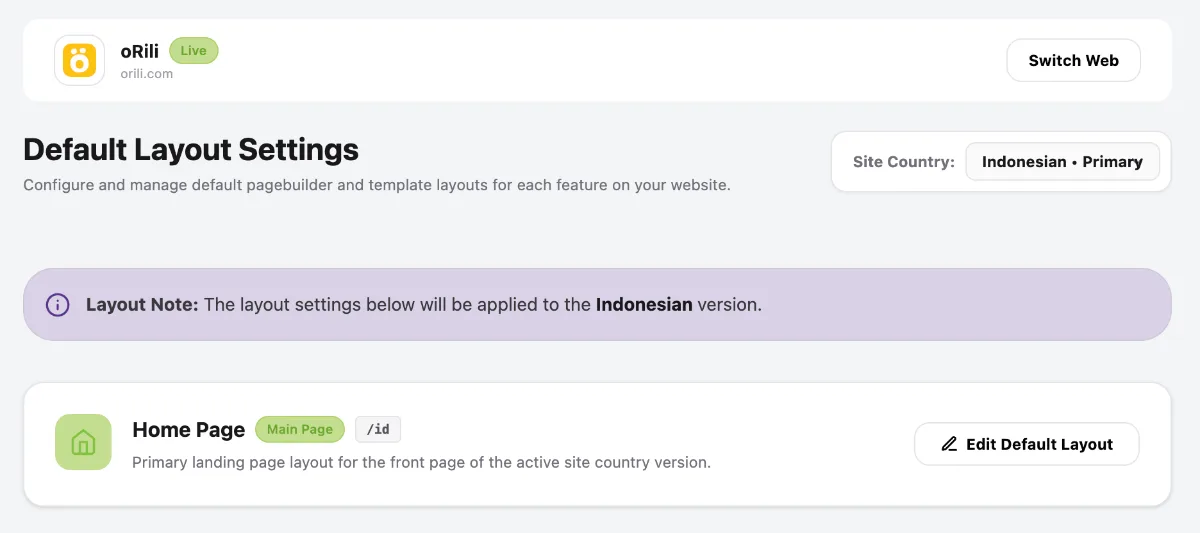
Access the Default Layout Settings menu by following these steps:
- Go to the Dashboard.
- Click the Operational Tools menu.
- Select Website.
- Select your website.
- Click Manage.
- Select Appearance.
- Click Default Layout.
2. Edit the Default Layout

Select Edit Default Layout for the category of the content type whose page layout you want to customise. For example, an Article category.
3. Set the Default Category Layout
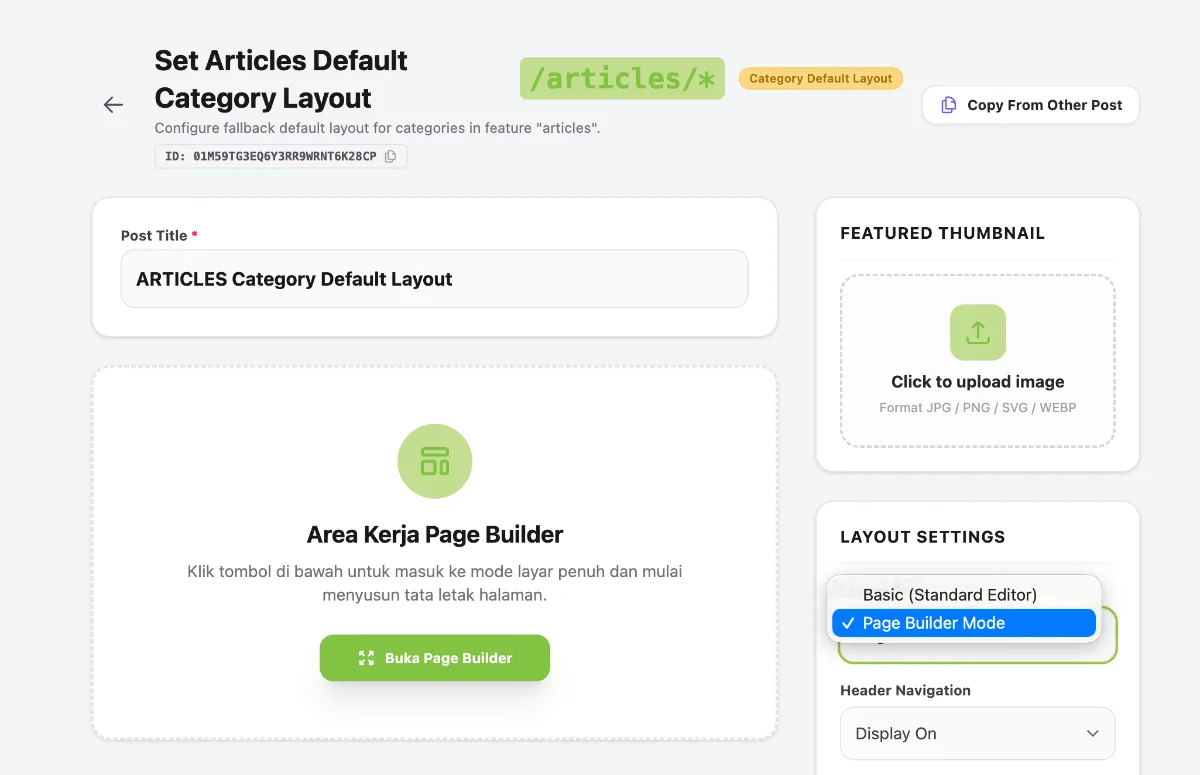
Select Page Builder Mode under Layout Settings.
4. Open Page Builder
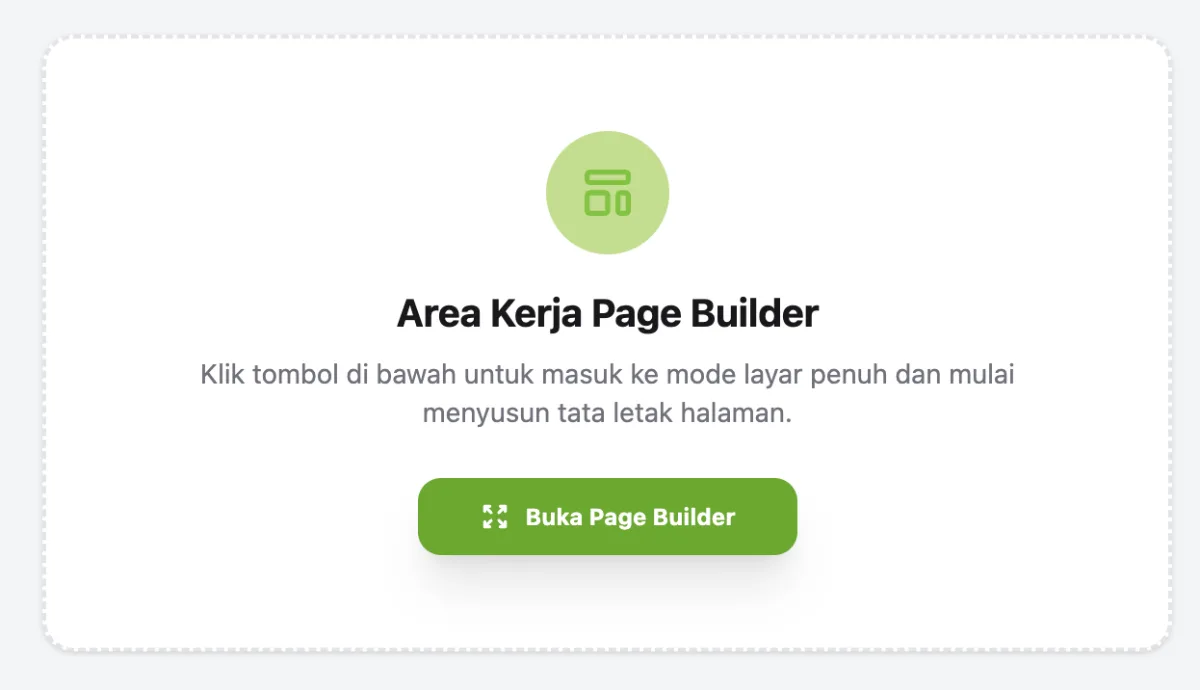
Click Open Page Builder to customise the page layout.
5. Configure the Layout
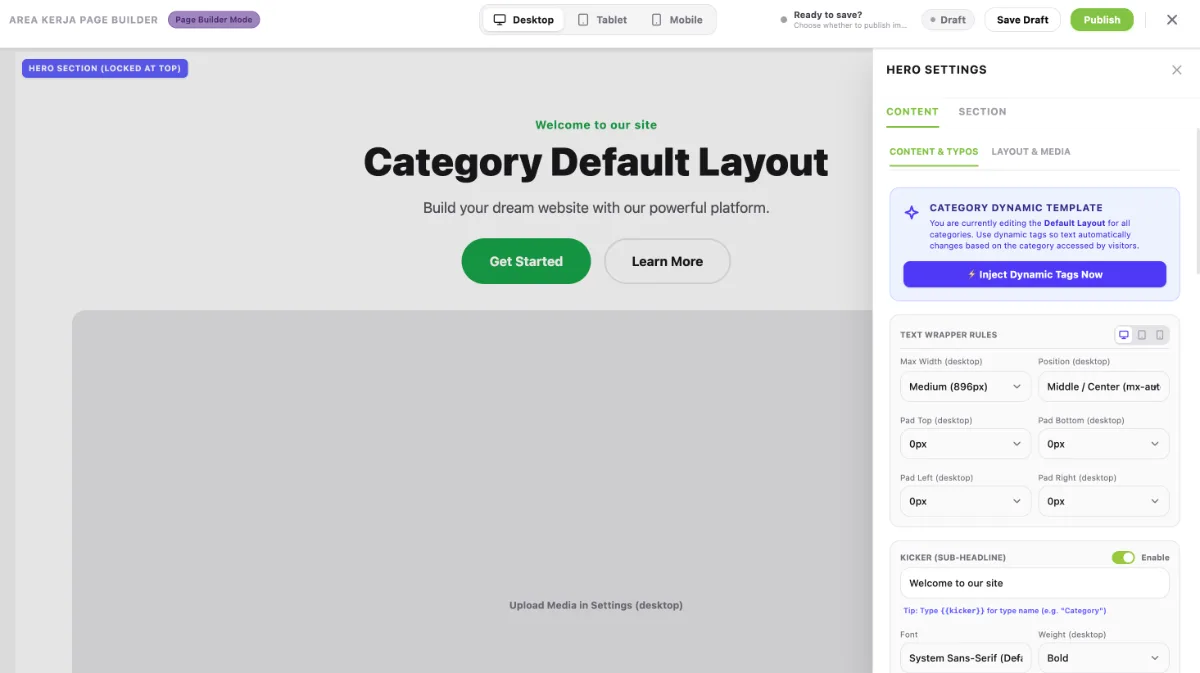
Start by customising the hero section. Click Edit Hero to open the Hero Settings panel, as shown below:
- Click Content & Typos to customise the text as required.
- Click Layout & Media to adjust the hero image
6. Display Category Content
Close the Hero Settings panel, then click the + icon in the top-right corner and add Post List.
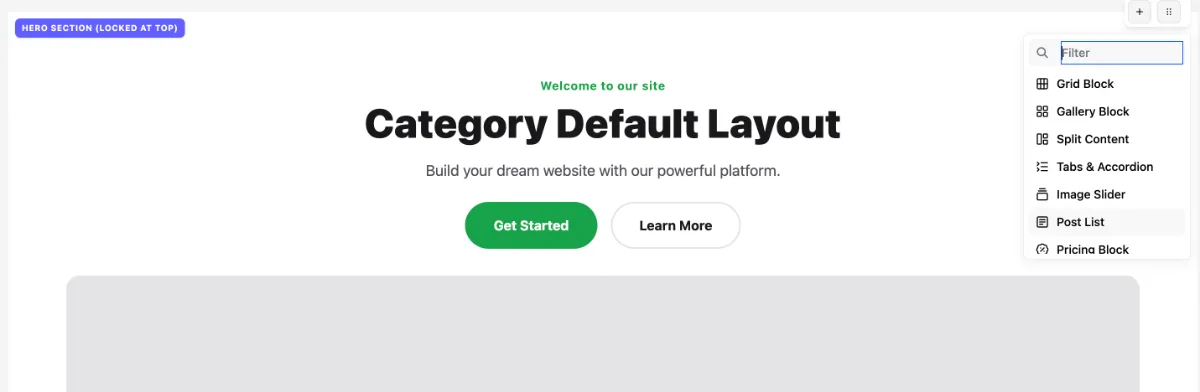
After clicking Post List, scroll down to view the available post layouts.
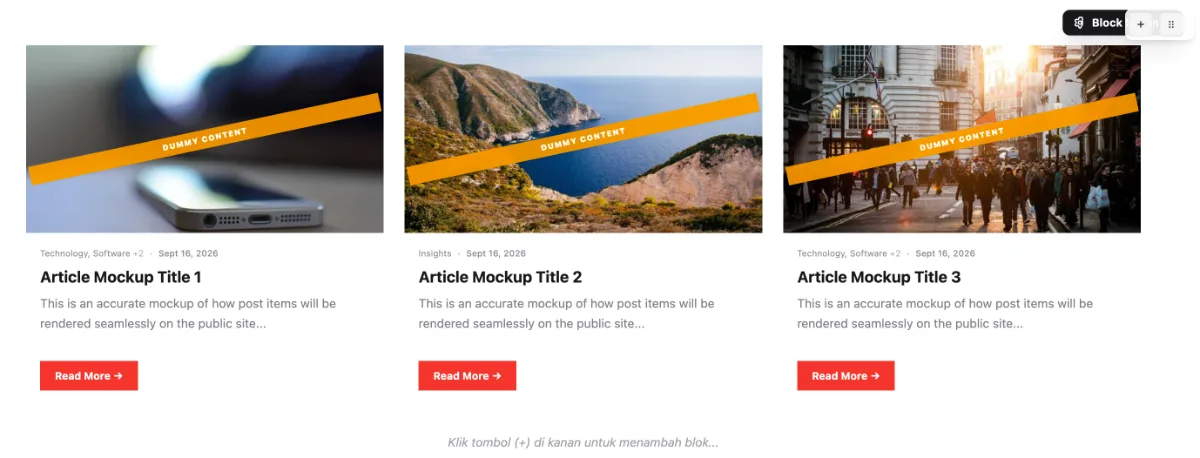
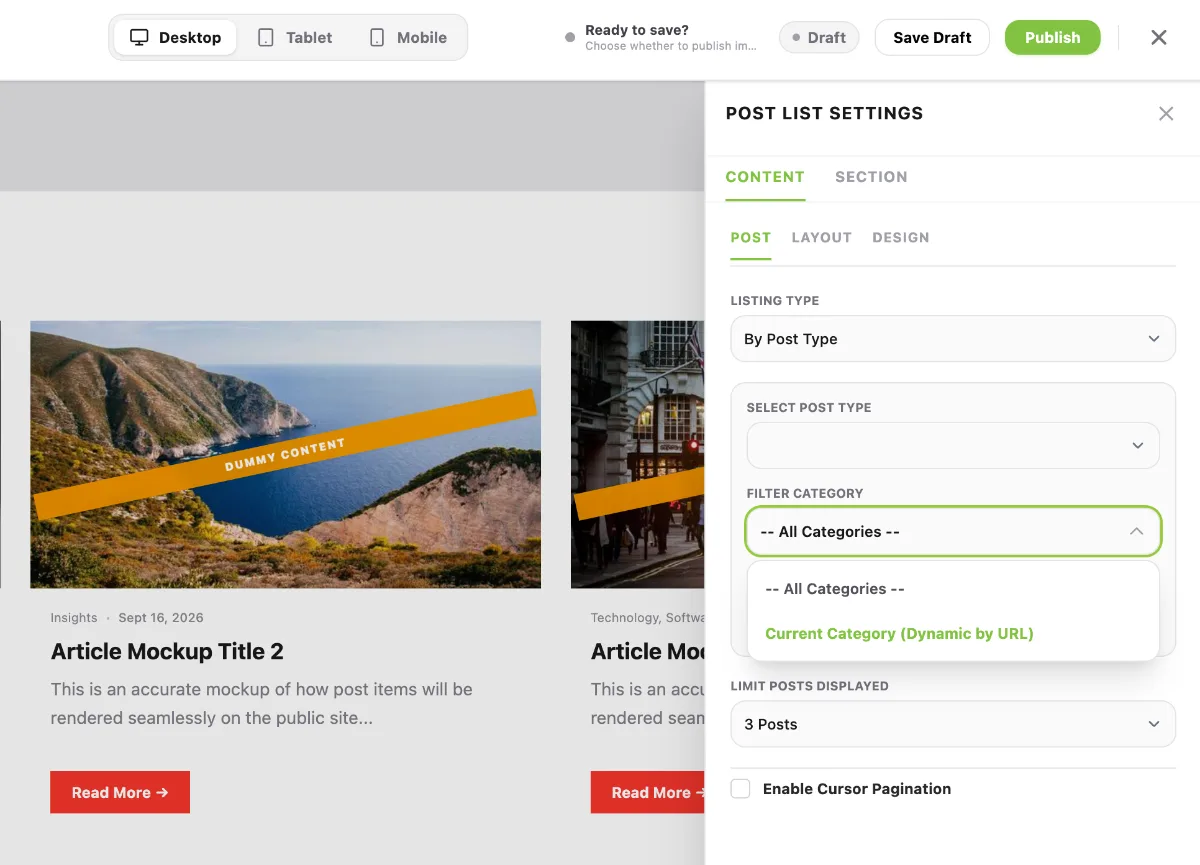
Click Block Settings on the right until the Post List Settings panel appears, as shown below:
- Set Select Post Type to match the selected content type, for example, Articles.
- Select Current Category (Dynamic by URL) under Filter Category.
- Set the Post Limit according to your requirements.
- Once everything is configured, click Publish in the top-right corner.
7. Check the Category Index Page Layout
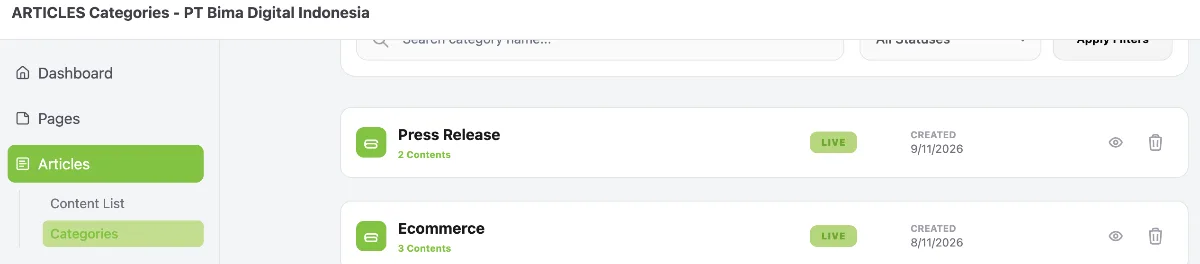
- Go to Articles → Categories
- Click the eye icon (Details) to open the category details
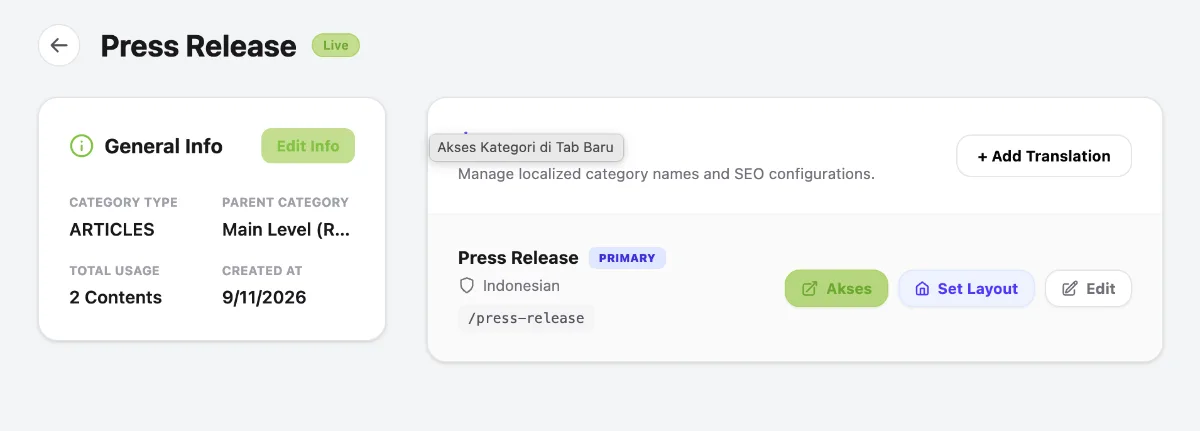
- Click Access to check the category index page layout you have configured.
- Apply the same steps to other content category sections